
Before the Clocks Fall Back: Clear Headlights and a Streak-Free Windshield for Darker Drives
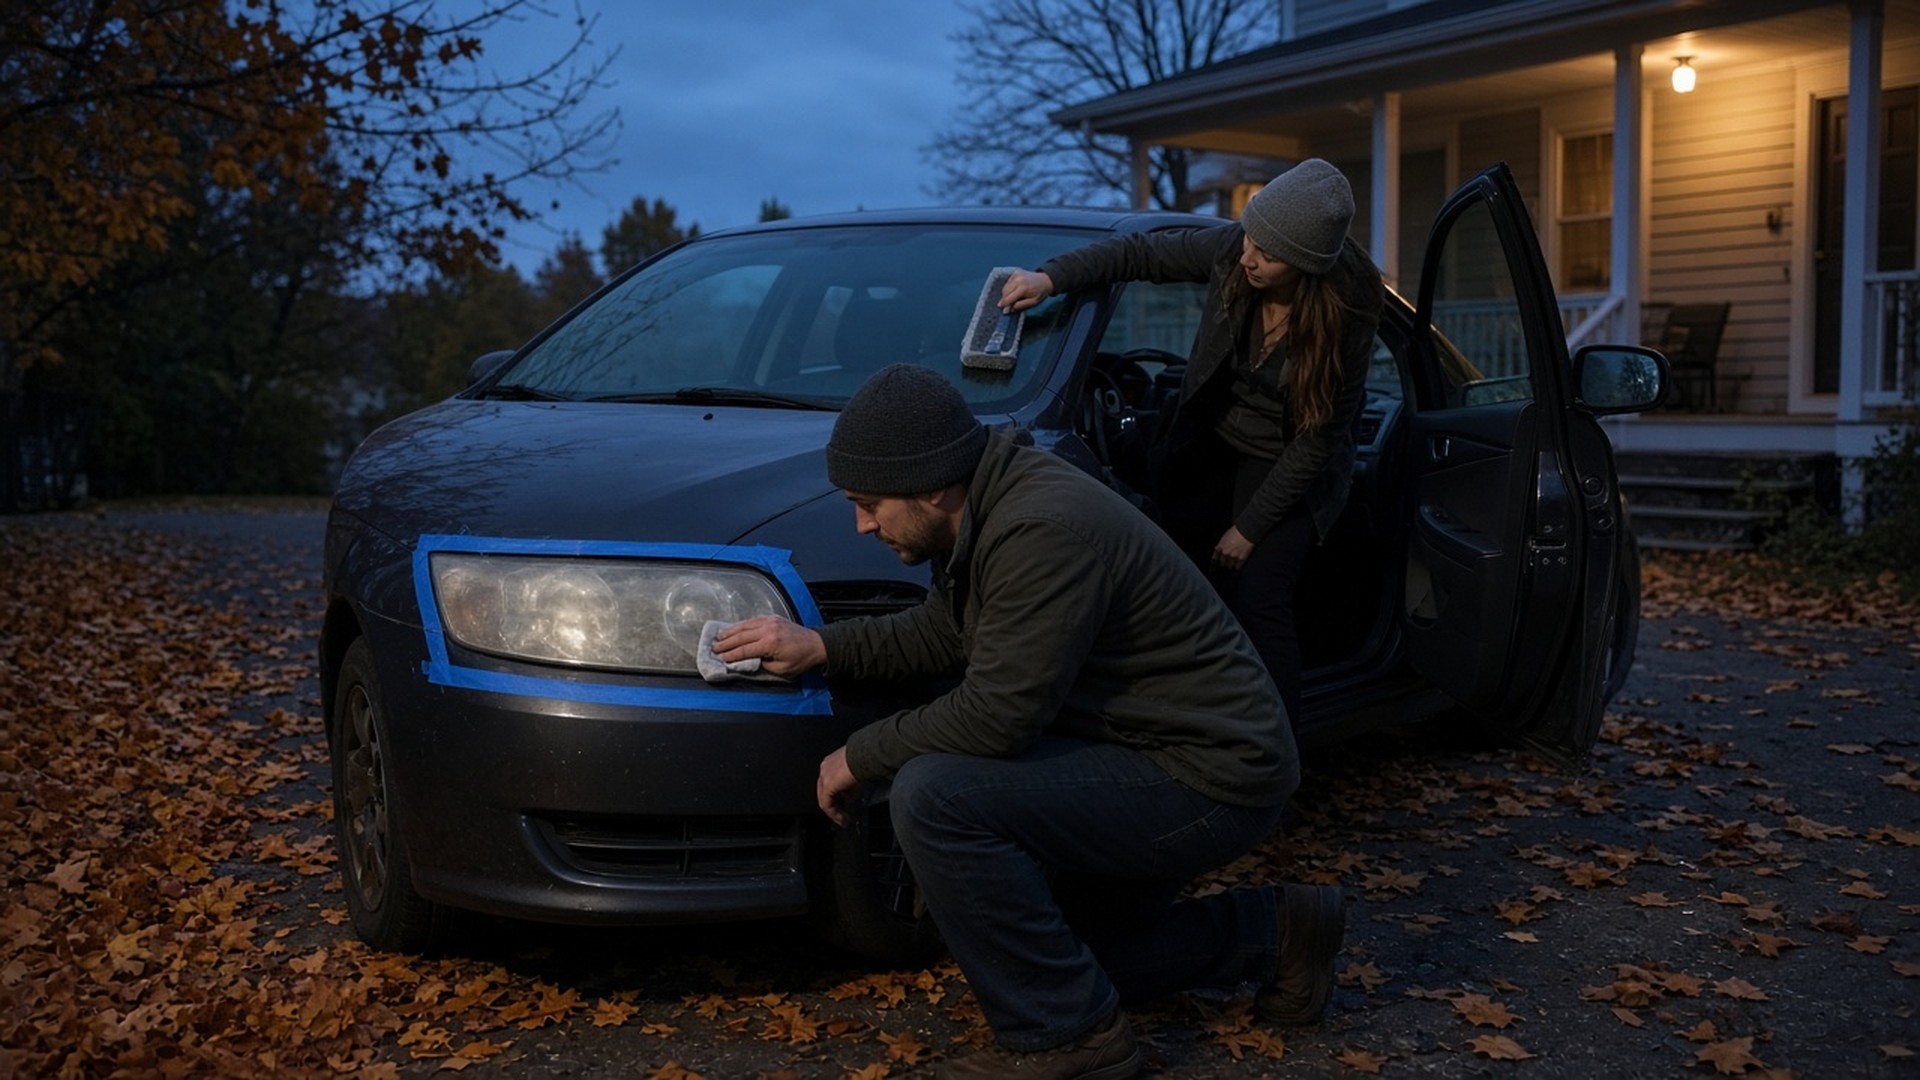
Daylight saving time ends on Sunday, November 1, and the following Monday a lot of people drive home in the dark for the first time since spring. That's when two small problems you've been ignoring all summer suddenly matter: headlights that have gone cloudy and yellow, and the hazy film on the inside of the windshield that turns every oncoming headlight into a starburst. Both are weekend-afternoon fixes, and neither needs a shop.
The two tools
CERAKOTE Ceramic Headlight Restoration Kit, 10 Wipe Kit is the headlight fix here; check its product page for the current price. Per the product page, it restores cloudy, yellowed headlights in a three-step process that takes about 30 minutes and needs no power tools: oxidation-removing wipes, an included sanding kit, and ceramic coating wipes. The listing says the ceramic layer bonds to the lens for long-lasting UV protection. Catalog rating: 4.6 / 5.0.
AstroAI Windshield Cleaner Tool & Car Interior Detailing Kit, Blue, 21 in handles the inside of the glass (see its product page for the current price). The listing describes a 180° rotating head that reaches the corners of the windshield without awkward bending, a telescoping 15.9 to 21 inch handle that splits in half for storage, four absorbent microfiber pads, a 60 ml spray bottle, and a storage bag. Catalog rating: 4.4 / 5.0.
Why cloudy headlights are worth an afternoon
Most modern headlight lenses are plastic, and years of sun turn the outer surface hazy and yellow. The bulbs can be fine while the light that actually reaches the road gets dimmer and more scattered. If your headlights look foggy in daylight, they're doing less for you at night than they should. Restoring the lenses is a lot cheaper than replacing the housings, and it's one of the few car jobs where the before-and-after is obvious.
How we'd plan the headlight job
Pick a dry day and a shady spot. You want the lenses cool and the coating step out of direct sun and rain. Read the kit's instructions all the way through before you open anything; the steps are in order for a reason.
Wash the lenses first. Road grime and bugs make every step harder. Dry them completely.
Tape off the paint. A border of painter's tape around each headlight protects the bumper and hood from the sanding step. It takes five minutes and saves you from scuffing paint you didn't mean to touch.
Work one headlight at a time. Follow the kit's order: oxidation wipes, sanding, then the ceramic coating. Let the coating cure as the instructions say before driving in the rain or washing the car.
Then check your aim. Once the lenses are clear, park facing a garage door or wall at night. If one beam sits noticeably higher or lower than the other, mention it at your next service visit.
The inside of the windshield is the part everyone forgets
The outside of the glass gets the wipers and the car wash. The inside slowly collects a film from the heater vents, hands, and everyday cabin air, and you mostly notice it when you're driving toward low sun or oncoming headlights and the whole windshield glows. It also tends to fog faster on cold mornings. The trouble is reach: the bottom of the windshield meets the dashboard at an angle that's miserable to get to with a cloth.
That's what the long handle and rotating head are for. Lightly mist a microfiber pad rather than spraying the glass directly so you don't drip cleaner onto the dash, wipe in overlapping strokes, then flip to a dry pad and go over it again to cut streaks. Do the corners where the glass meets the pillars, and while you're at it, the inside of the rear window and the mirrors. Wash the pads after each use and the kit packs back into its bag for the trunk.
A ten-minute dark-commute checklist
While the car's in the driveway, run through the rest: walk around with the lights on to make sure every bulb works, including brake lights and turn signals; replace wiper blades if they chatter or leave streaks; top up washer fluid; and check tire pressure as temperatures drop. Our AstroAI L7 tire inflator guide and NOCO Boost GB40 jump starter review cover the rest of a cold-weather car kit.
Who this is for
Anyone driving an older car with foggy or yellowed headlights, commuters who are about to drive home in the dark every weekday, and the person in the family who always ends up doing the car chores. Skip the headlight kit if your lenses are cracked, have moisture inside, or are already clear; that's a replacement job or no job at all. Skip the windshield tool if you've got a cleaning routine that already reaches the bottom of the glass.
What we're not claiming
We didn't restore a set of headlights with this kit, measure light output, or test how long the coating lasts, and we didn't use the windshield tool ourselves. The CERAKOTE kit's three-step, roughly 30-minute, no-power-tools process, oxidation wipes, sanding kit, ceramic coating wipes, and UV protection claim, the AstroAI tool's 180° rotating head, 15.9 to 21 inch split handle, four microfiber pads, 60 ml spray bottle, and storage bag, and the ratings above come from the product pages and catalog. Check the current prices on the product pages, block out a Saturday afternoon before November 1, and see the road clearly on the first dark drive home.